Customization


|
Customization |


|
|
Customized settings are stored for each database. The settings are saved in “custom.dat”, in the database directory. If you create a new database and wish to use the same custom settings then copy custom.dat into the new database directory.
Changing Test Types, Test Phases and Notes
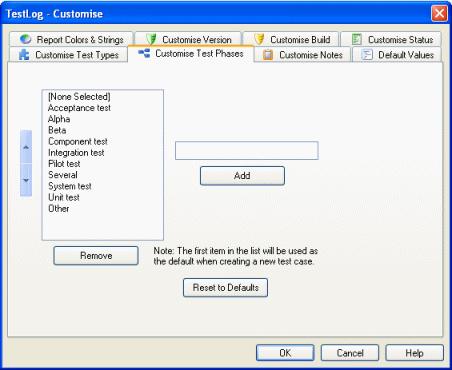
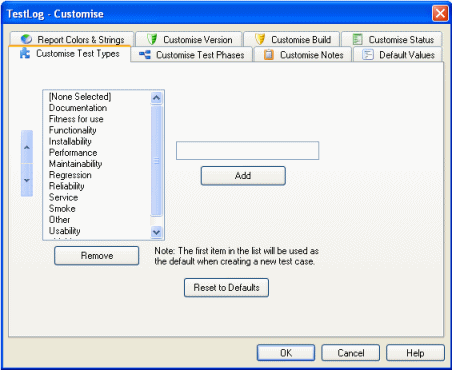
The values for “Test Types” and “Test Phases” can be changed through the customization dialog. To open the dialog select the “Settings” menu and then “Customize Fields...”.
To remove items from “Test Types” or “Test Phases”, select the item(s) in the list box on the left of the dialog and then click the “Remove” button.
To add an item, type it in the edit box and click the “Add” button. Click “Ok” to save the changes. There is a maximum of 20 Test Types and 20 Test Phases.
 Customisation dialog - Test Types
 Customisation dialog - Test Phases
The “Notes 1” and “Notes 2” fields found in both test cases and project test cases can be renamed. Type the new name in the edit box and click the “Change” button, the “Currently:” label will then be updated to indicate what the name will be changed to. Click “Ok” to save the changes.
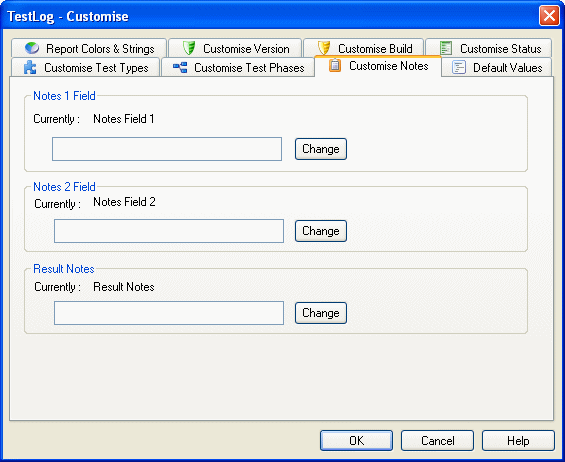 Customisation dialog - Notes
Changing Report Chart Colors and Strings
The colors for various elements of status and progress reports can be changed here. To change a color, select an item from the drop down list and then click the colored box .A color chooser dialog will be displayed allowing a new color selection to be made. The color of the box next to the list will change to reflect the current color of the selected item. The “Reset to Default” button can be used to reset all the colors to the original TestLog colors.
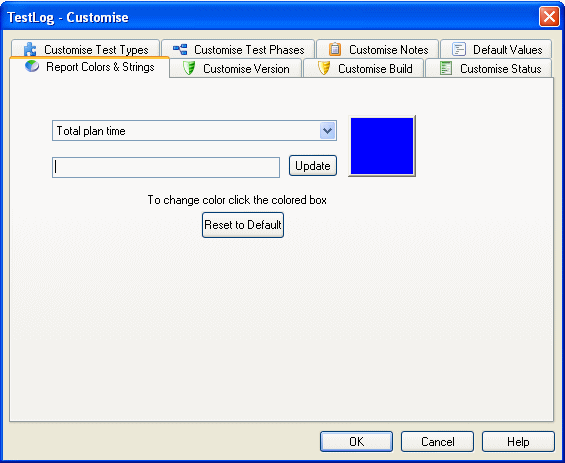 Customisation Dialog - Report Colors and Strings
Default Values
Values entered here will be used as the default value when creating a new test case or project test case.
Expected Duration - Allows a value to be entered that be entered for the expected duration when a test case is created.
Number of auto-increment digits - If you use a naming scheme with trailing number such as Test_0001, Test_0002, you can set the number of trailing digits the auto-increment functions will use when creating new test cases, duplicating test cases and inserting new test cases. For the previous example it would be set to 4.
Auto-increment step size - If using auto-incrementing you can set this value to skip a certain number so there are spaces left for inserting test cases between existing ones. For example using a step size of 5 and auto-increment number of 3 the ID's created could be Test_005, Test_010, Test_015 etc.
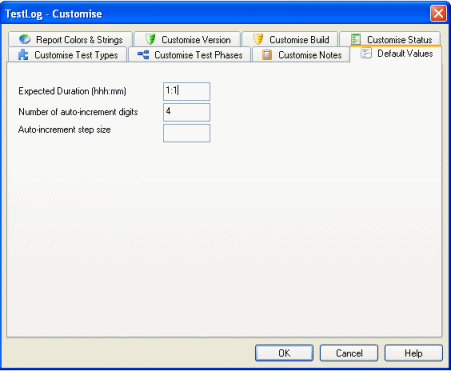 Customisation Dialog - Default Values
Customizing Status Values
This tab allows you to change the status text, the report string and report color for a status. Each status must correspond with one of the original pass/fail/etc status values as this is what determines which icon is displayed and affects how it is interpreted for some reports. To edit an exiting status select it in the list and click the edit button, this will display another dialog where you can edit the values. To move a status higher or lower in the list use the up/down control to the left of the list. The status at the top of the list will be used as the default status when creating a new project test case.
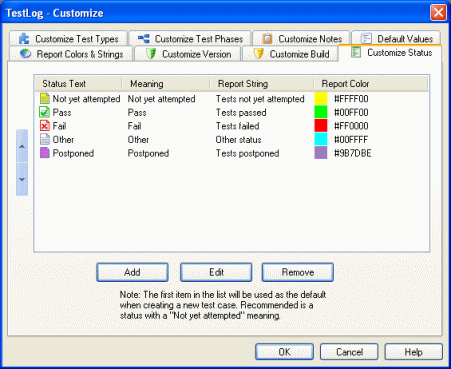 Customisation Dialog - Status values
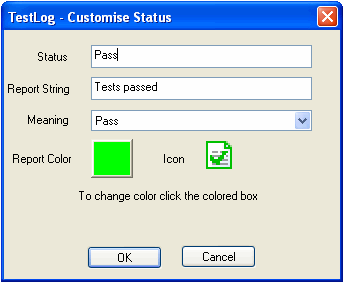 Customisation Dialog - Customise Status
Customizing Version and Build
To remove items from “Version” or “Build”, select the item(s) in the list box on the left of the dialog and then click the “Remove” button.
To add an item, type it in the edit box and click the “Add” button. Click “Ok” to save the changes. There is a maximum of 20 versions and 20 builds.
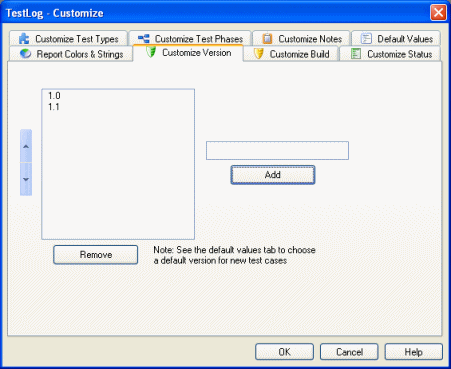 Customisation dialog - Version
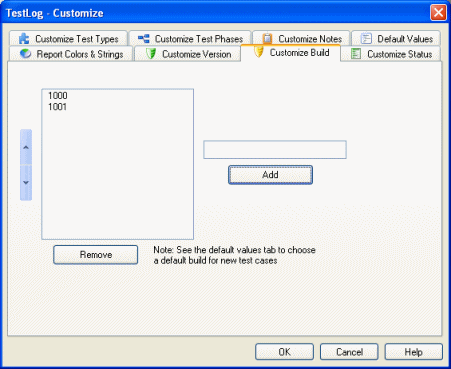 Customisation dialog - Build Setting the User Name
The “Set User Name” dialog is found under the “Settings” menu and allows you to select a user name for a particular database. The list for the “Select new user” drop down box is created from the testers of the project, if there are no testers defined or a user hasn’t been selected then the default user name is the current computer name. You can also right click on a Tester and select “Set as current user”.
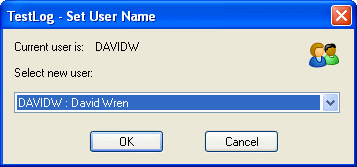 Set User Name dialog
|